
Main content:
- Difference Between Camper Batteries and Car Batteries
- Common Types of Camper Batteries
- Preparation Before Installing Camper Battery
- Camper Battery Connection Steps
- Series or Parallel Connections According to Power Needs
- Common Installation Mistakes
- Camper Battery Maintenance
- Camper Battery Issues and Replacement
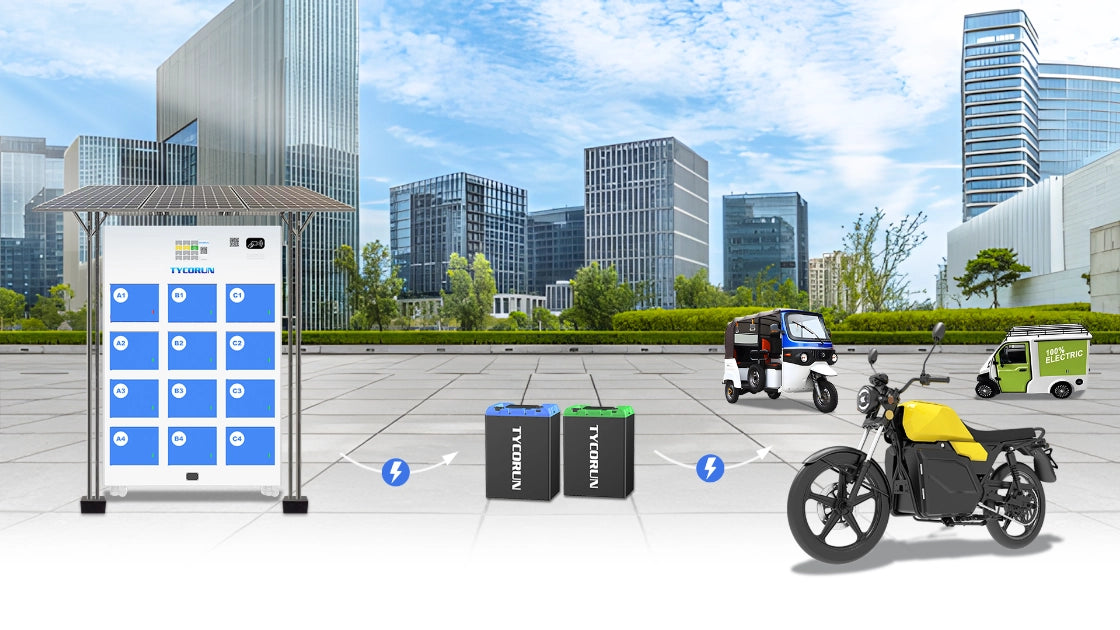
- Connecting Solar Panels to Camper Battery
- Conclusion
- FAQs
Reliable power is essential for RV adventures, and knowing how to hook up a camper battery correctly ensures safety and efficiency. This guide explains battery types, installation preparation, proper wiring order, and solar panel integration, providing all the steps RV owners need to set up their energy system. Learning how to hook up a camper battery is the first step toward a dependable RV.
Difference Between Camper Batteries and Car Batteries

Car batteries primarily provide short bursts of high current to start the engine. Once the engine starts, the car's own generator provides continuous power, so the discharge cycle of a car battery is very short. RV batteries are different. They need to continuously power appliances, lighting, refrigerators, air conditioners, and other components within the RV for extended periods of time.
This requires stable discharge capacity and durability, placing a greater emphasis on long-term deep-cycle discharge performance. Understanding how to hook up a camper battery properly ensures these batteries can perform safely over time.
Common Types of Camper Batteries

Lead-acid Batteries: AGM, Sealed Lead-Acid, Liquid Lead-Acid
Lead-acid batteries are inexpensive but bulky and heavy, making them less popular for RVs. For an average daily electricity consumption of around 8 kWh, at least eight 100Ah lead-acid batteries are required. A typical 100Ah lead-acid battery weighs 30 kg, so eight batteries weigh 240 kg, roughly the weight of three adults.
Lithium-ion Batteries
Ternary lithium batteries also have their advantages. Their battery high energy density makes them the preferred lithium-ion battery for small passenger cars. The higher the energy density, the longer the range, making them more suitable for electric vehicles. Unlike electric vehicles, RV batteries require frequent charging and discharging, and the power supply must be safe. Therefore, its long lithium ion battery life and high safety make lithium iron phosphate the preferred choice for RV battery applications.
Lithium iron phosphate is chemically stable and highly stable at high temperatures. It only begins to decompose at 700-800°C. It also does not release oxygen molecules or violent combustion when exposed to impact, puncture, or short circuits, resulting in high safety.
Ternary lithium batteries have poor thermal stability and begin to decompose at 250-300°C. They can ignite easily when exposed to the flammable electrolyte and carbon materials in the battery. The heat generated further exacerbates the decomposition of the positive electrode(What Is the Role of the Electrode), leading to explosive combustion in a very short time.
Preparation Before Installing Camper Battery

Before installing an RV battery, thorough preparation is crucial. Preparing tools, materials, and safety equipment in advance not only makes the installation process smoother but also effectively reduces operational risks, ensuring personal and vehicle safety.
Tools and Materials
- RV battery: Choose a fully charged battery that is compatible with the RV to ensure immediate use after installation.
- Wrenches and pliers: Used to tighten battery terminals and ensure secure cable connections.
- Battery terminal cleaner: Removes corrosion from battery terminals and improves conductivity.
- Protective gloves and goggles: Avoid exposure to acid or arcing, which can cause injury.
- Multimeter: Check voltage and polarity to ensure proper connection.
- Cable ties: Organize wires and keep the installation environment clean.
Safety equipment and operating environment preparation are also essential. Working with RV batteries involves acid and high currents, so wearing protective gloves and goggles is essential to prevent skin and eye injuries. The operating environment should also be well-ventilated, dry, and tidy, free of flammable materials and debris. To prepare for unexpected situations, it is recommended to have a fire extinguisher on site to promptly handle fires or electrical incidents.
Before installing a new battery, carefully inspect the existing battery and circuit. Inspect the battery for cracks, leaks, or other damage to ensure it is safe and functional. Also, inspect cables and terminals for wear, corrosion, or looseness, and clean or replace them if necessary. These careful inspections are important when learning how to hook up a camper battery safely and effectively.
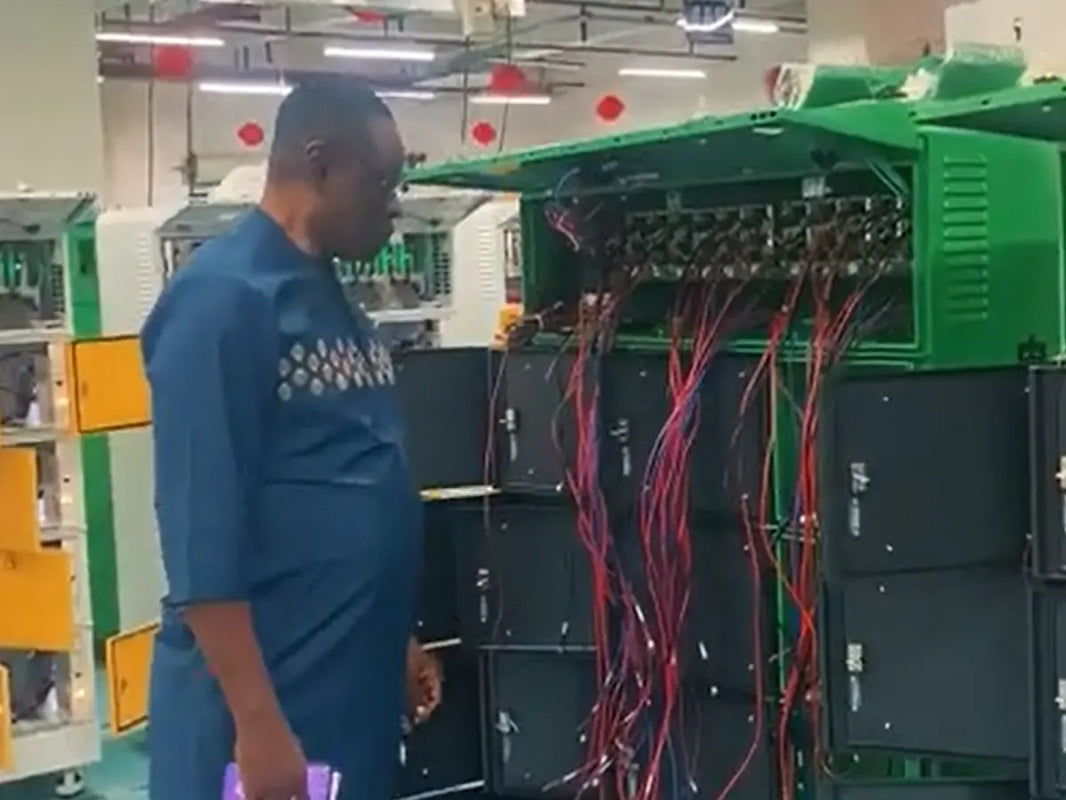
Camper Battery Connection Steps

Turn Off All RV Power
Disconnect the generator, solar system, and AC power. Disconnecting power prevents arcing or short circuits during operation, ensuring safety.
Locate the Battery Compartment
- Travelers: The battery is typically located near the front tongue or chassis.
- Fifth-wheel RVs: The battery is often located in the front storage compartment.
- Self-propelled RVs: The battery location varies and may be in a different storage compartment.
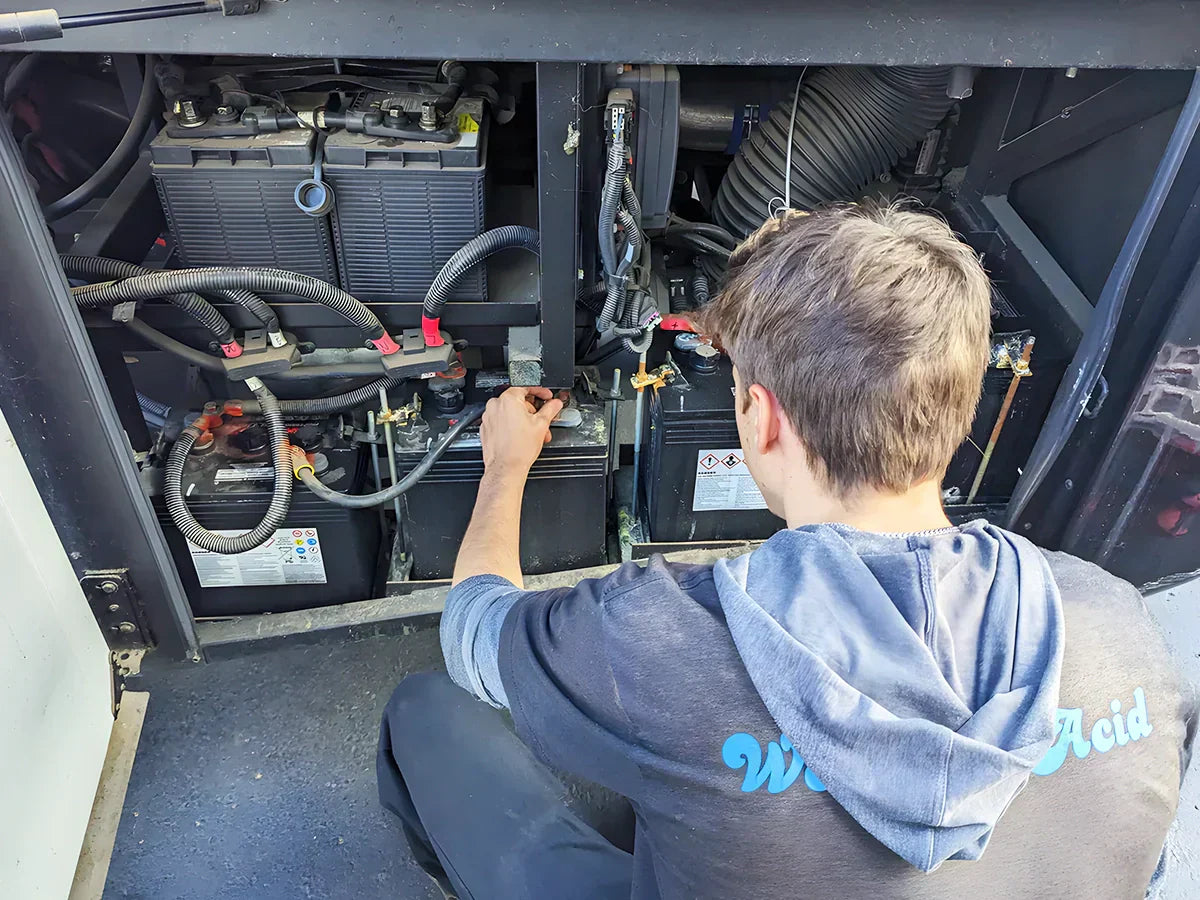
Inspect and Clean the Battery Terminals
Inspect the terminals for corrosion or dust. Clean them with battery terminal cleaner to ensure good conductivity.
Identify the Positive and Negative Terminals
The positive terminal is marked "+" and is red; the negative terminal is marked "-" and is black.
Connecting Cables in Order
Connect the positive terminal (red cable) first, then the negative terminal (black cable). Tighten the connections with a wrench or pliers to prevent loosening. Following this sequence is essential when learning how to hook up a camper battery to avoid accidents.
Power Disconnection Order
Disconnect the negative terminal first, then the positive terminal. Following this sequence reduces the risk of electric shock or arcing.
Test Voltage
Use a multimeter to measure the battery output voltage. Once the output is normal, the RV's electrical system can operate safely. Testing is part of the standard procedure when figuring out how to hook up a camper battery correctly.
Series or Parallel Connections According to Power Needs
Series Connection
A series connection increases voltage while maintaining the same capacity. For example, connecting two 6V batteries in series creates a 12V system. The series connection is suitable for RVs requiring higher voltages, such as when driving high-power appliances, air conditioners, or certain specific electrical equipment. Increasing the voltage reduces line current, thereby reducing line heat and power loss, and ensuring more stable operation of high-voltage loads.
Parallel Connection
A parallel connection increases battery capacity while maintaining the same voltage. In parallel, the positive terminals of all batteries are connected together, and the negative terminals are connected together. Parallel connections are particularly suitable for extending the RV's operating time, such as when camping for extended periods or when using numerous lighting, refrigerators, and charging devices without an external power source. By increasing capacity, an RV power system can provide continuous power for longer periods without requiring frequent recharging.
Series-Parallel Combination
For larger RVs with higher power demands, a series-parallel combination can be used: multiple battery packs connected in series and then in parallel. This increases both voltage and total capacity, meeting the dual needs of medium- and high-power RV devices and long battery life. It's ideal for large-capacity RV power systems that need to power multiple high-power appliances simultaneously and maintain power for extended periods.
Common Installation Mistakes

Proper maintenance helps when you know how to hook up a camper battery efficiently. First, connecting the positive and negative terminals incorrectly can cause a short circuit or damage the battery, so be sure to carefully distinguish the red positive terminal from the black negative terminal. Second, not wearing protective gear poses a safety hazard.
Gloves and goggles can prevent contact with acid or electric shock. Ignoring terminal corrosion can also affect conductivity, leading to unstable power supply and requiring regular cleaning. Furthermore, overtightening terminals can damage the cable or the terminal itself, and forgetting to turn off appliances can cause arcing or short circuits during installation, posing safety risks.
Camper Battery Maintenance

To extend the life of your RV battery and ensure stable power, routine maintenance is necessary. Maintaining the battery charge is crucial. Avoid fully discharging the battery, especially lead-acid batteries, to prevent shortening its lifespan. Regularly cleaning the terminals removes corrosion and dust, improving conductivity.
For lead-acid batteries, check the water level and refill with distilled water promptly. Store batteries in a cool, dry, and disconnected location to prevent moisture and overheating. Finally, it's recommended to inspect the battery monthly for loose terminals, cracks, or other damage, and address any issues promptly.
Camper Battery Issues and Replacement

RV batteries can develop various malfunctions over time, and identifying these signs is crucial. Common symptoms include a noticeable slowdown in charging speed, decreased battery capacity, bulging, cracking, or leakage, and even frequent voltage fluctuations. These symptoms indicate that the battery may need to be replaced to ensure proper operation of the RV's power system.
When replacing an RV battery, follow the correct procedures. First, disconnect the old battery, preferably the negative terminal first, then the positive terminal, to avoid short circuits or arcing. Next, clean the battery terminals to remove corrosion and dust to ensure stable electrical conductivity. Next, install the new battery in the RV according to the correct polarity and secure the connections with a wrench or pliers. Finally, use a multimeter to check the voltage to confirm that the new battery is outputting power normally, ensuring the safety and reliability of the RV's electrical system.
Connecting Solar Panels to Camper Battery

Position the solar panel in a location that receives ample sunlight and is unobstructed. Next, connect the panel's positive and negative output wires to the input terminals of the charge controller using appropriate cables. The charge controller regulates current and voltage to prevent overcharging or damage to the battery, so this step should never be skipped.
Next, connect the charge controller's output terminals to the positive and negative terminals of the RV battery. Connect the positive terminal first, then the negative terminal, ensuring the terminals are secure and free of looseness or corrosion. Once completed, use a multimeter to test the voltage to confirm that the battery is receiving a charge and outputting power normally. Secure the cables to prevent them from loosening or wearing out during driving to ensure the safety and reliability of the entire system.
Conclusion
Maintaining a stable power supply requires understanding how to properly hook up a camper battery. Following these installation steps, series/parallel connection tips, and solar integration guidance ensures longer battery life and reliable energy. By mastering how to hook up a camper battery, RV owners can enjoy safe, uninterrupted power during camping or long-distance travel.
FAQs
Which battery terminal do I connect first?
When installing an RV battery, connect the positive terminal (red terminal) first, then the negative terminal (black terminal). This prevents arcing or short circuits during operation, reducing the risk of electric shock and battery damage. Disconnect the batteries in the reverse order: disconnect the negative terminal first, then the positive terminal.
Can a 200-watt solar panel run a 12-volt refrigerator?
A 200-watt solar panel can generally provide basic power for a 12-volt refrigerator, but the actual performance depends on the refrigerator's power and sunlight intensity. It may not be sufficient on continuously cloudy days or when the refrigerator is operating at high power. Therefore, it is recommended to use battery storage to ensure stable power and long-term operation.
How do I know if my RV converter is charging my battery?
You can use a multimeter to measure the battery voltage. If the voltage is higher than the resting voltage and within the normal charging range, the converter is charging the battery. You can also check the charging indicator or display to determine the charging status. If the voltage is abnormal, check the wiring or controller.
Do batteries drain equally in parallel?
In theory, parallel batteries share the load, but due to differences in battery capacity, internal resistance, and health, discharge may vary slightly. To extend battery life, it is recommended to regularly check voltage consistency and use batteries of the same model, capacity, and similar health when connecting in parallel.