
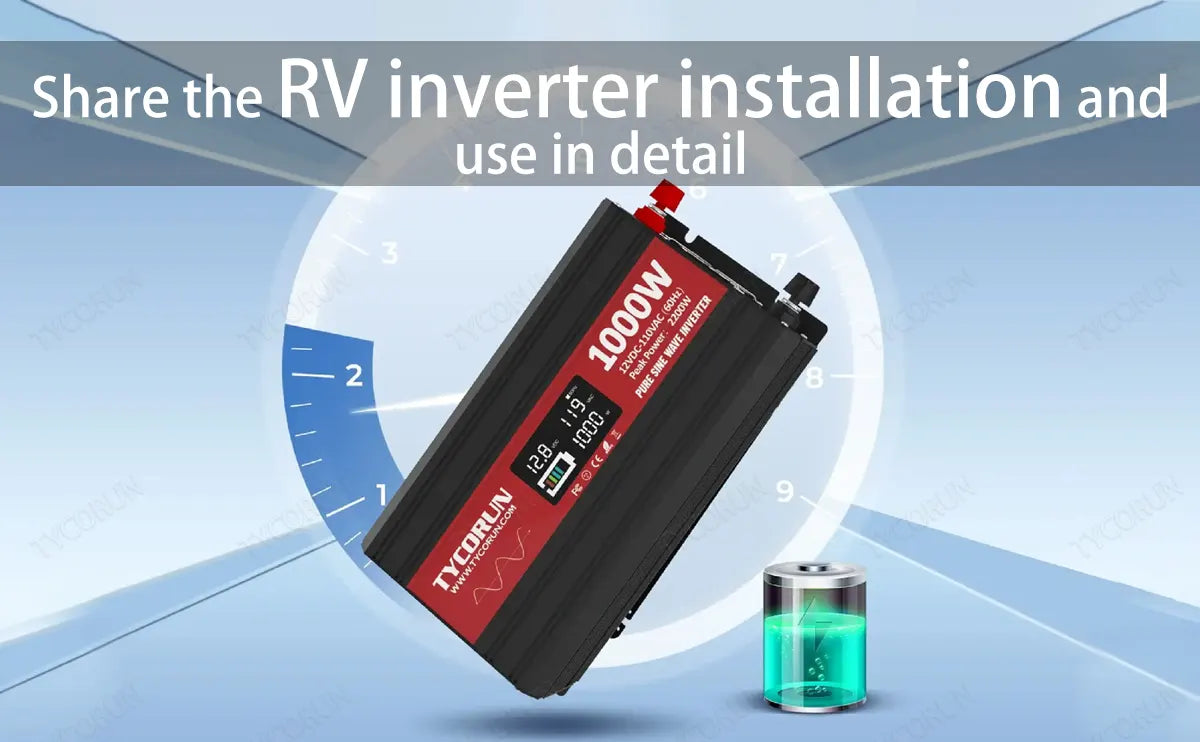
As people pay more attention to comfort while seeking leisure, road trips are becoming more and more popular. RV travel is also loved by people. In RV travel, people like to put on a variety of home appliances and can be moved to the RV.
However, problems such as the configuration of electrical equipment on self-driving cars often make people not very satisfied. Today, we will introduce the RV inverter installation, function and use of the RV inverter to you, hoping to make friends who love self-driving trips more relaxed.
Main content:
1. What is an inverter and what does it do
Simply put, an inverter is an electronic device that converts low-voltage (12, 24, 48 volts, etc.) direct current into 220 volts alternating current. In daily life, 220 volts or 110 volts alternating current is usually rectified into direct current, and the role of the inverter is the opposite, so the name inverter.
We are in a "mobile" era of mobile offices, mobile communication, mobile leisure, and mobile entertainment. In the mobile state of life, not only the low-voltage direct current supplied by lithium battery, but also the 220 volt alternating current that is indispensable in the daily environment, the inverter is to meet our needs in this field. Next, let's take a look at the RV inverter installation and what electrical appliances it can be used for.
2. What is inductive load
Simply put, the principle of electromagnetic induction of high-power electrical products such as motors, compressors, relays, fluorescent lamps and so on. This type of product requires a starting current that is much larger than the current required to maintain normal operation (about 3–7 times).
For example, a refrigerator that consumes about 100 watts of power during normal operation can have a starting power of more than 900 watts. Because the inductive load will generate the back electromotive force voltage at the moment when the power is turned on or off.
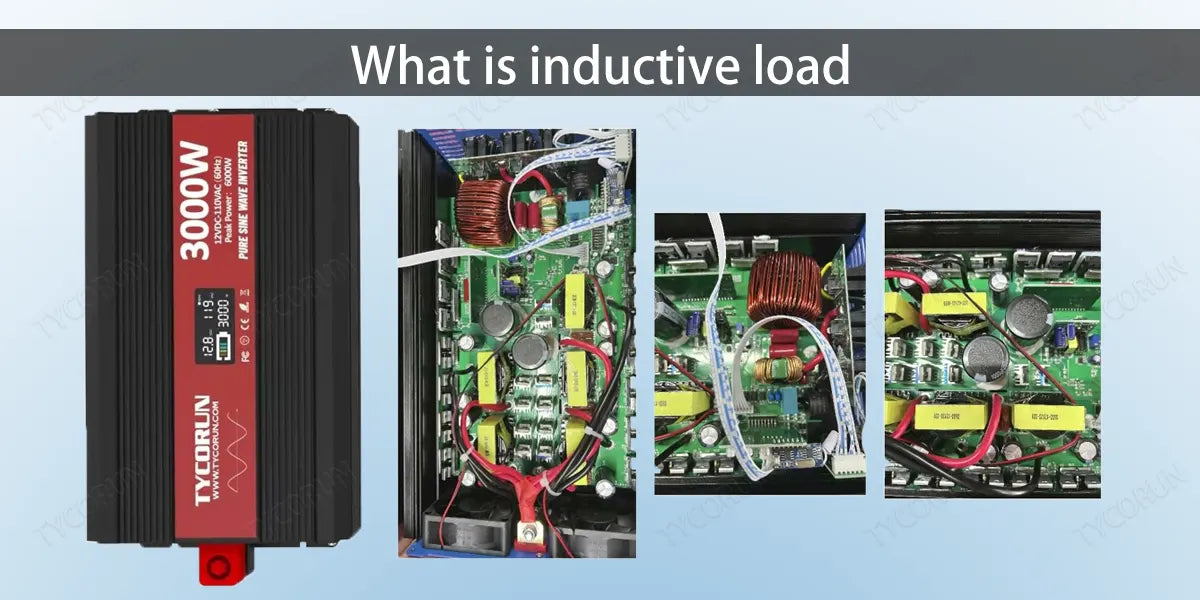
The peak value of this voltage is far greater than the voltage value that the inverter can withstand, and it is easy to cause the instantaneous overload of the inverter, affecting the service life of the inverter. Therefore, this type of electrical appliance has higher requirements for the power supply waveform.
3. What is the efficiency of an inverter
When the inverter is working, it also consumes part of the power, and its input power is greater than its output power.
That is, the efficiency of the inverter is the ratio of the input power to the output power of the inverter. An inverter inputs 100 watts of direct current and outputs 80 watts of alternating current. So it's 80% efficient.
● Continuous and peak output power
Some electrical appliances or tools that use electric motors, such as refrigerators, washing machines, electric drills, etc. It takes a lot of time to get started.
Once started successfully, a small current is required to maintain its normal operation. Therefore, for the inverter, there is the concept of continuous output power and peak output power. Continuous output power is the rated output power.
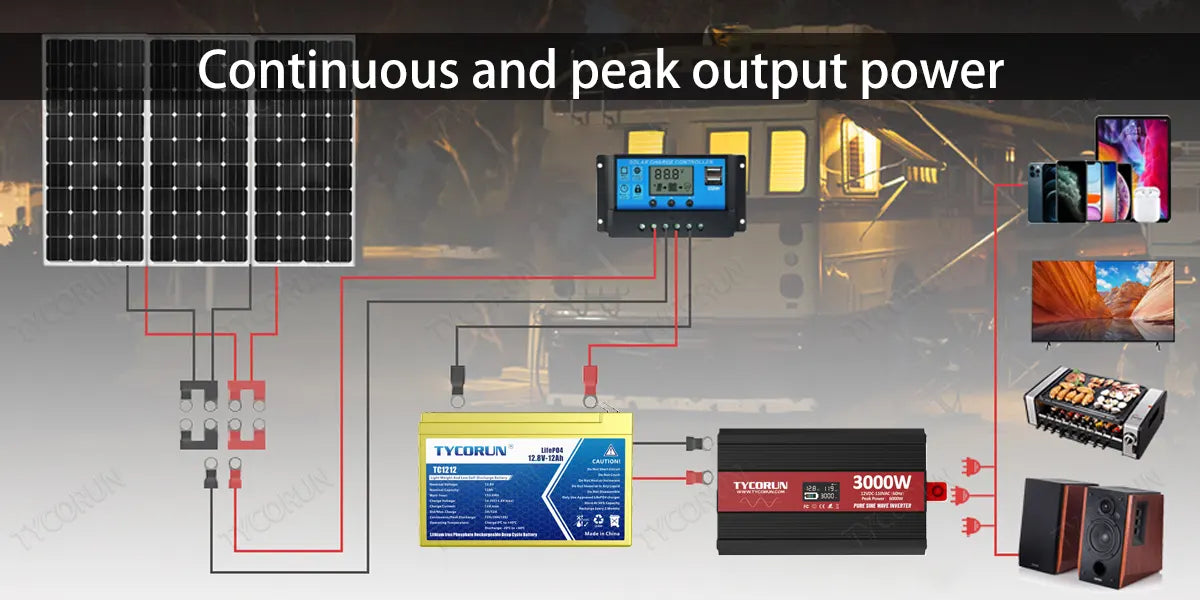
Generally, the peak output power is twice the rated output power. Like air conditioning, refrigerators, etc., its starting current is equivalent to 3-9 times the normal working current. It is necessary to have an inverter that can meet the peak power of the electrical appliance to ensure normal operation.
4. How should the inverter be connected to the power supply and load
This is an important step in the RV inverter installation. Electrical appliances under 100 watts can be used directly after plugging the 150 watt inverter into the cigarette lighter socket.
The pure sine wave inverter 1000w is connected directly to the battery via the crocodile clip wire, the red line is connected to the positive battery, the black line is connected to the negative battery (not reversed).
If the power point is far away from the battery, the inverter connection principle is: the connection between the inverter and the battery should be as short as possible.
5. What tips you need before RV inverter installation
The safety of RV inverter installation is the first guarantee of safety.
● Do not replace or extend the inverter standard wire.
The wire that is equipped at the factory is at least considered by the manufacturer to meet the safety requirements, and do not replace it at will.
If you are really not satisfied, then you can only take a better material (safe carrying capacity is larger), thicker, flame retardant wire to replace. If you want to lengthen (the principle is not recommended), it must be a better and thicker wire, if necessary, consult a professional.
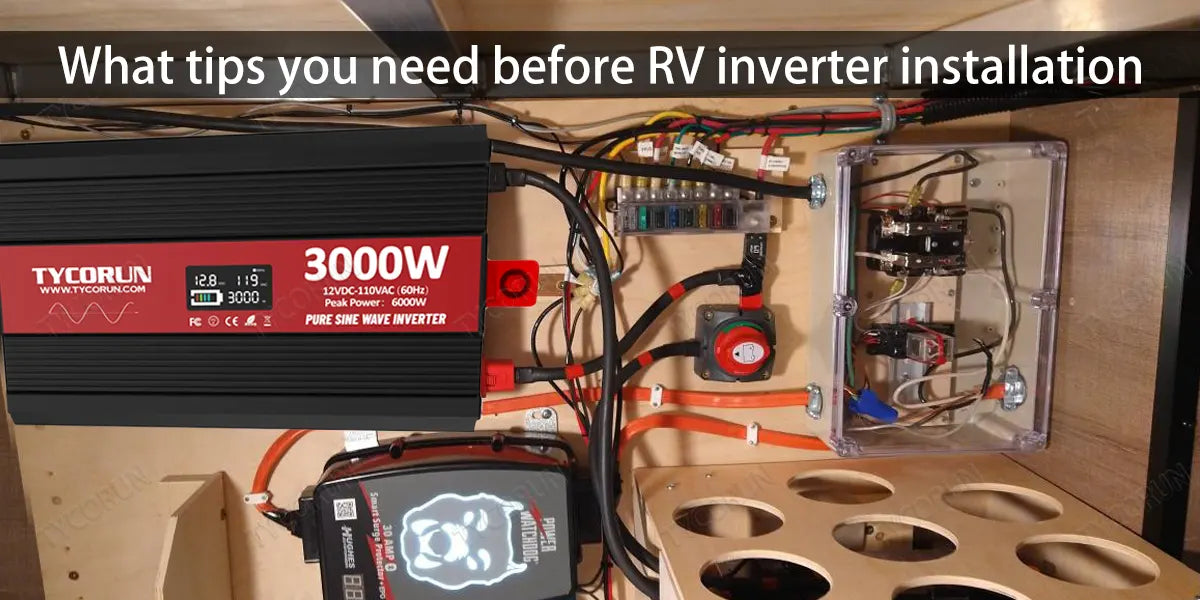
● The inverter and battery should be as close as possible.
In other words, the shorter the DC transmission distance between the inverter and the battery, the better. Because the farther the direct current transmission, the greater the loss, the wire is also easy to heat.
Preferably, the distance between the two is within the range that the inverter factory standard wire can be connected to. If you really want to lengthen, please make sure to replace the thicker wire. If necessary, find a car inverter near me and consult a professional.
● RV inverter installation and fixed
Although the inverter can be used mobilely, for safety reasons, it is best to have a fixed position, which can reduce the possibility of short circuits or wrong connections.
● RV inverter installation and connected securely
All joints, terminals, nuts, etc., should be tightly fastened to ensure that the maximum contact area between the wire and the copper column and where the current goes will not slide, so as to avoid excessive temperature, ignition and other dangerous situations.
Of course, the positive and negative poles must not be connected incorrectly, which is the most basic. It is best to power on after the RV inverter installation.
6. Detailed guide of RV inverter installation
Rv inverter installation steps are as follows:
● Terminal
The terminal is very simple, in order: cathode, anode, voltage output.
● Wire diameter selection
The 2000w inverter outputs full power 2000W. According to customer feedback, the use of 2300W is also acceptable. Because it is a low voltage inverter, the input voltage is only 12 volts(like the 12v battery), so the input current is large.
Therefore, for the cathode and anode inputs of the battery lines choose at least 20 squares of pure copper wire. And try not to use this terminal for these two wires; it is recommended to remove it and weld it directly with your wire.
This can effectively reduce the voltage drop of the line, improve the efficiency of the inverter and reduce the loss, and the shorter the line, the better. The second step of the RV inverter installation is actually very simple.
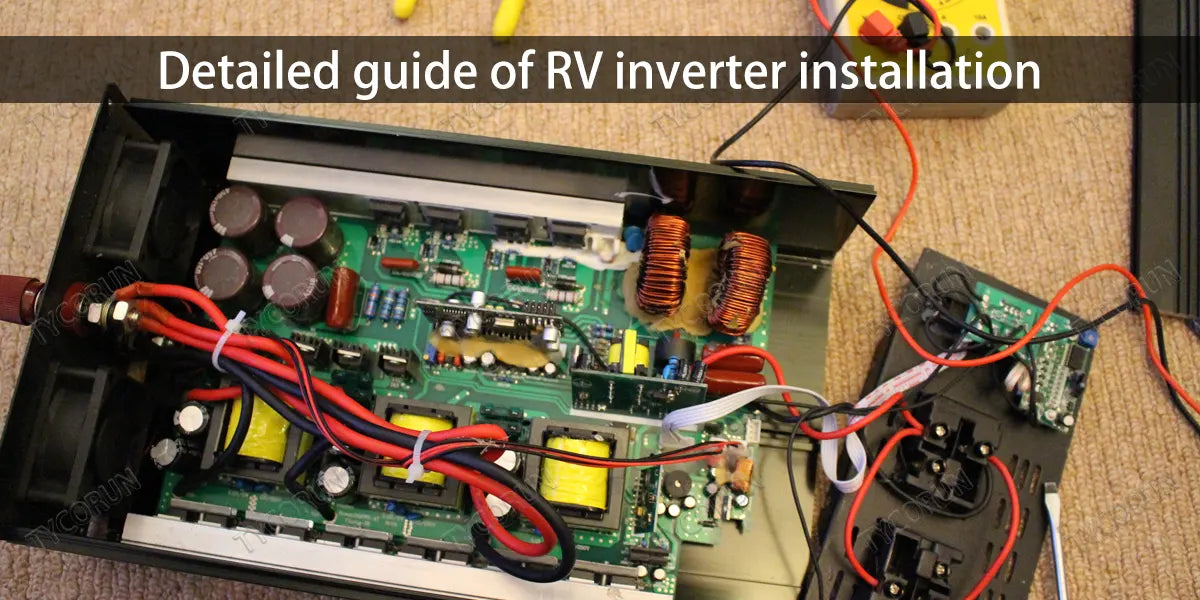
● 220 volts high voltage output
It is recommended to choose pure copper wire with a wire diameter of 1.5 to 2 squares, and the output of 220 volts is completely isolated from the low voltage 12 volts, which has very good safety, which is not compared with the high frequency inverter. If you know the choice of wire diameter, then you can enter the wiring stage of the RV inverter installation.
● The most basic RV inverter installation solution
It can be seen that it is very simple to connect the positive and negative terminals of the battery to the DC input (do not connect the reverse polarity). Then connect the socket to the AC output.
● Add car charging switch scheme
This is the simplest vehicle inverter use scheme, but also the most reliable scheme, all manual control.
- Connect the secondary battery to the main battery with 15 to 20 flat wires.
- With a high current switch in the middle.
- Close the switch after starting the car.
- The original car generator charges the main and secondary batteries together.
- Turn off the switch after extinguishing.
● Semi-automatic control RV inverter installation
In the second basis, automatic control is added to open and close the inverter using the control terminals added by this improvement. Connect the electric lock control line to the positive electrode of the cigarette lighter, which is not to open the inverter switch.
After you turn on the electric lock in the car, the inverter automatically turns on. Turn off the electric lock and the inverter automatically shuts down.
● Fully automatic control of RV inverter installation
The charge is automatically switched on after the generator is detected to generate electricity, which is a fully automatic inverter system that is greatly convenient for use.
7. Conclusion
RV inverter installation involves a lot of knowledge, and the sine wave inverter is the one we recommend. Low noise can provide stable operation. Safer from your motorhome experience, you can easily carry electrical appliances within the power range. Advocate for green and convenient living.
Related articles: rv inverter, rv electrical system, top 10 PV inverter companies